Figma is an online graphic designing tool. It is used by designers to create all kinds of designs, prototype and collaborate with others.
It is famous for its collaboration feature where more than one team members can work on the same design file at the same time. Additionally, this
fosters creativity, understanding and saves time in the design process. It provides everything from basic shapes tools to advance
prototyping features. In this blog we will provide you with a beginner level guide of Figma basics tutorial , Later of this blog you will
be able to design simple things like a poster or a any simple Instagram post.
Topics covered in this post:
- Getting started with Figma
- Understanding Figma’s interface
- Basic Tools and features
- Designing your first project
- Collaboration & sharing
- Exporting your designs
- Conclusion
🌟Getting Started
Signing up and creating an account
Signing up and creating your Figma account is very easy. Just paste this link in your browser- https://www.figma.com/
You will see a page like this open up . Click on the Get started for free button, you will see a login box appear, fill your
credentials and create your account.

After verifying your mail your Figma page will show you something like this-

Fill up your name profession as well as all the other formalities and choose the starter plan for you. In later blogs we would also be telling you about the benefits and disadvantages of starter and professional plans. After all the formalities would be done wohoo you have completed signing up on Figma!
🌟Understanding Figma’s Interface
You will be shown a Figma board, choose the option design file from it and then you will be taken to the design file.
Now , let’s have a quick view at Figma’s Interface:
The different panels
Tools Menu: In the top left of the menu, you will see various option, you can click on them and try various designs from there.

Starting from the left these options are:
- Main menu
- Move tool
- Frames
- Shapes
- Pen/drawing tool
- Text
- hand
- comment
Layers/Assets/Page: This you will find in the left side of the file. This is where all your design frames, elements and assets will be shown.
Layers as the name says will show you the layers of your design, for example you are creating a Poster and the frame name is Green , and you want a image of a grass to be under the text “Green” . When you do that the Layers panel will show you the layers in a order such that Grass will be below and text will be above it.

Fig: Frame of Grass
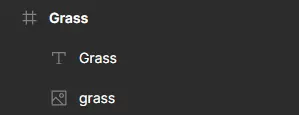
Fig: Layers
Inspect Panel: This is placed in the right side of the file. You will see the following options there:
- Design
- Prototype
- Inspect
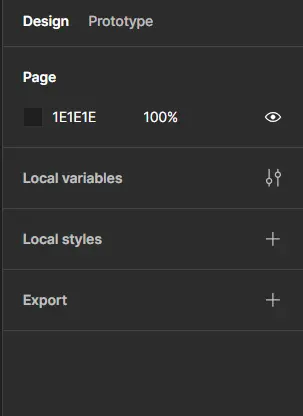
The inspect panel is generally used by designers and developers, as it provides a overall overview of the design elements. When an item is selected the inspect panel displays it properties such as measurements, font size, color, text styles and CSS properties. This feature also helps developers to turn design into code easily. You can also find advance designing options such as shadow, blur effect, strokes etc. At the bottom of the inspect panel is Export option which is used to export the designs. There are many other options as well which a beginner would learn only by exploring . Hence, by using the Inspect panel, one can work smoothly without any errors and eventually maintaining design consistency.
🌟Designing a simple project
They say practice is the key! In this section we would be designing a very simple project in order to get you started with Figma. We will be making a poster for awareness of saving trees. You can research about save trees campaigns and poster on Pinterest and other resources. The most important part before designing anything is doing research. After collecting enough ideas , thereafter you can start with your design process.
Step-by-step process to make a save trees poster
- Define Purpose : The first step in either case is to define the purpose/goal of your poster. We have already defined that in the intro, it is saving trees.
- Choose a size and format : In the tools menu you will see the frames option, when you click on it, various types of frames will appear in the
right side i.e. the inspect panel. Usually a poster is of A4 size paper, so we will be choosing A4 under the paper option. - Sketch your layout : After inserting the frame you have to decide the structure/layout of the poster. You can either draw it roughly
on a paper, or directly try on the frame. - Choosing the background : Choosing the right background color in order to define the base of your poster is very important. The color should be warm and shouldn’t pain the eyes of the viewer. In this case, I will be choosing E4D8C0 this color, you can directly copy and paste it there.
- Inserting Illustrations & Images : Now we will add a eye-catching Illustration or image using a plugin.
This option can be seen between the text and hands option. When you click on it something like this will appear:
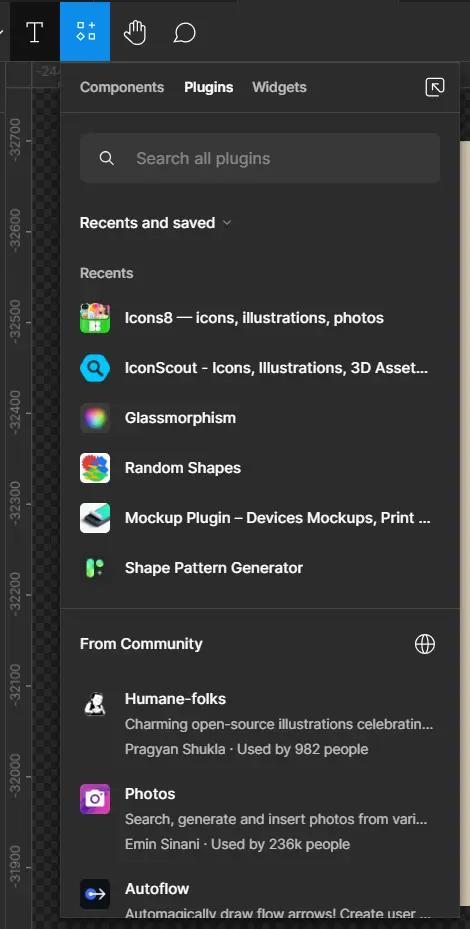
In the plugins option search Icons8. Click on run , this plugin would open up:
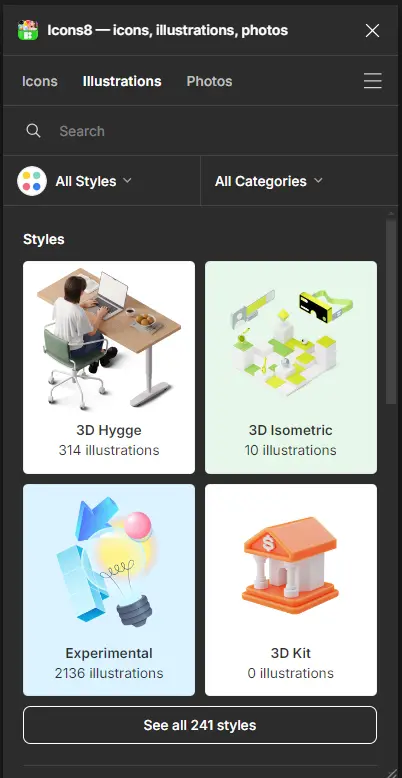
Search Trees on the search bar. A lot of illustrations will appear, choose any and click on it. It would be inserted in you frame, you can now adjust its position
and size according to your design.
6. Adding shapes: We will be adding more shapes to enhance its design. In the shapes option in the tools bar, choose the circle and insert it into the frame.
And place it somewhat like this:
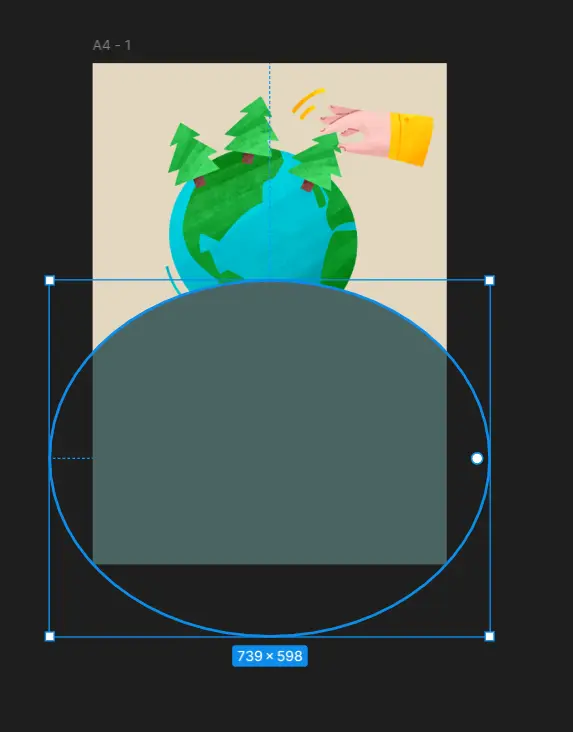
Now, bring the tree image to front from the layers panel.
7. Adding Text: add texts and paragraphs in whatever way you like .

Your poster is now finally ready you can add more effects if you want.
🌟Collaborating & Sharing
Once you are done with the design, now we would be sharing it with others. There are many ways in which a person can share his design.
Either you export it using the export option, or you can also share it’s link with other . This way of sharing is known as “collaborating”.
By accessing the Figma file the other designers can even make changes to your poster. This is indeed an amazing feature of Figma as
it saves time and also increases collaborations.
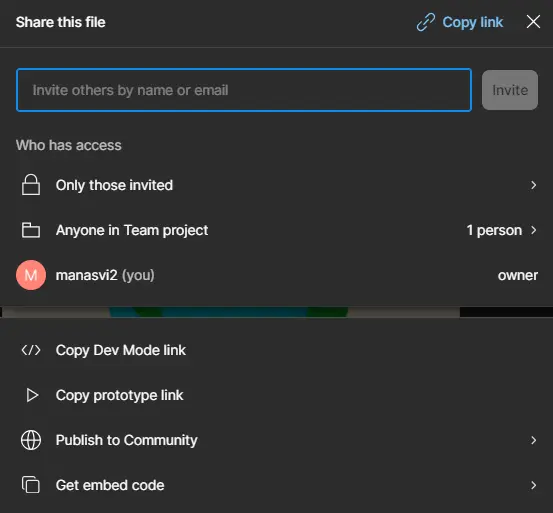
In order to share the link with your fellow designers, click on the share option in the top-right , a menu will open-up , choose the 🔗copy link option in the top-right. After the link is copied , the text will say link copied!
🌟Exporting designs
Exporting designs in Figma is a very crucial step to save your work and share it with others in various formats. Firstly, whether you need PNG , JPG, SVG or any other format, you need to know which format can be used when. For example, if you want scalable graphics then you should use the SVG format.
There’s a lot more to it like adjusting the resolution of the image, the preview option and more. All of this can only be learnt by exploring, explore the different
options and see what magic they can bring.
🌟Conclusion
In summary, designing on Figma is as easy as drawing on a paper. Believe me if you practice a few more times, you will get familiar with it.
Figma is indeed a complex software to work on, you will discover more and more features as you use the application. But on the other hand
it has all that a designer needs, from amazing plugins, collaboration features to prototyping.
Learning Figma is a long journey, many users give up in the long way. Surprisingly, people don’t even try their hand at Figma.
Nowadays people prefer Canva, Adobe and other applications, they are good, very good indeed. But Figma is the future and as
a designer it is a necessary skill . Lastly, I would say that rather than wasting time searching for other software tools, keep yourself
motivated and bring your designing a kick-start by learning Figma. Hoping this blog on Figma basics tutorial would bring you some help.
Join our Discord community , where many designers collab and design together, share your work with us and stay updated for future blogs!


Pingback: Instagram Posts Design Hacks: Secrets to Stand Out in the Feed - Boardigital